"Growing garlic is like a gift to the future. Plant a clove, and in return, you receive a flavorful harvest, each bulb a testament to patience, care, and the beauty of nature’s cycles." - Unknown Author
Garlic is one of the most rewarding crops to grow!
Don't worry if you have a brown thumb; garlic is very forgiving. You can do it!
First of all, you need some quality seed. Garlic seed is not like other seeds you are used to seeing because you are actually planting the whole cloves from inside the bulb. Ever have that problem where the seeds you are trying to plant are so small you can hardly see 'em?? Not so with garlic seed! The "seeds", or cloves, are very large... often even bigger than your thumb!!
Sowing success: unlocking some key secrets to your garlic growing conquest...
I HIGHLY recommend that you buy your seed from an actual garlic specialized company.
I don't recommend planting the garlic you get from the grocery store.
First of all, 90% of the garlic from the grocery store comes from over seas and will not grow well in the US. Second of all, it is often carrying soil born diseases that can get in your soil and cause problems with any future garlic or onion crops you grow for many years. And third, commercial grown garlic is usually sprayed with anti-germination chemicals so that it will last longer and not start to sprout.
The best garlic seed suppliers focus on healthy soil, but especially on remineralizing their soil. Garlic high in minerals will be nice and firm. Occasionally there will start to be some dehydrating happening by planting time that softens the bulb *slightly*, but still try to always choose the firmest bulbs for planting and eat the softer ones.
I have seen such a big difference between the performance of seed between suppliers and have concluded that it was the mineral balances of that supplier's soil that impacted the growth of the bulbs the most when I planted that garlic on my own farm. Which is why if you have listened to me for very long, you know that healthy, balanced, and well mineralized soil is a very big part of my garlic farm.
If you would like to make sure you are getting garlic seed that will take off and thrive, you can do so right here.
Garlic planting times: one of the most varied aspects of garlic farming...
Many beginner garlic growers run into a lot of debate on the internet about when exactly the best time to plant garlic is. I really encourage fall planting for the best success, but some have also had success with spring planting.
In terms of when to plant in the fall, I like to plant about 1 or 2 weeks after my average first fall frost. However, I have had good success planting before my first frost and even 4-5 weeks after.
In terms of when to plant in the fall, I like to plant about 1 or 2 weeks after my average first fall frost. However, I have had good success planting before my first frost and even 4-5 weeks after.
Building the right foundation: soil preparation for healthy garlic...
For soil prep, garlic likes what your other veggies like. Just good garden soil in full sun.
If you would like to step up your gardening performance and raise the Brix (nutrient density) of your food, you can send a soil sample in for analysis.
I use International Ag Labs and have found their service to be EXCELLENT. They are great about answering questions.
As of this writing, it is $50 for a soil analysis report along with the recommendations list.
The thing I like about this lab is that they use weak acids for their soil testing. Weak acids are the most similar to the type of acids plant roots put out to dissolve minerals and make them absorbable from the surrounding soil. The weak acid soil testing method gives you the greatest accuracy of what your plants can actually access from your soil vs labs that use strong acids which will tell you the total minerals in the soil, but not what the plants can actually dissolve and use.
The 3 P's: pick, pop, and plant...
Once you have spread the minerals that the lab recommended (if you decided to go this route), then it is time to pop your garlic bulbs apart and separate the cloves.
Pick the larger bulbs for planting...not necessarily the jumbo bulbs, but don't plant your small bulbs as they don't size up well when you plant the cloves from them unless your soil is REALLY good; which most of us don't have.
Remember, select the firmest bulbs for planting by giving them a little squeeze to see how much "give" they have. A little give is okay, but try to look for the firmest bulbs for planting.
As you pop apart each bulb, select the largest cloves for planting, toss your smaller cloves into a separate box for processing in the kitchen. Smaller cloves don't usually produce big bulbs.
Be careful not to bruise or nick your selected seed cloves with a fingernail or anything as you pop. If you do, just put that clove, and any other cloves that have damages for any reason, into your processing box as damages can let harmful bacteria take hold that will wreck havoc on future garlic plantings.
Your garden, your rules: planting depth and spacing...
Once popping is done it is time to plant.
I think garlic plant spacing and bed layout is perhaps the most varied between growers of every opinion related to growing garlic. I tend to think of it as the finger print of each grower!
I recommend planting your garlic rows 10 inches apart and the garlic cloves 6 inches apart in each row. For our garlic farm I will do 4 rows of garlic in a bed, with a 30 inch pathway in between beds. That is a 30 inch wide bed. But, you can do single rows if you prefer.
Make a furrow, or if you have tilled your soil and it is soft enough, just lay your cloves out at the spacings you want and go back and push them in.
I like 1-2 inches of soil above my cloves, but if you live farther north than Kansas you should probably go a bit deeper - up to 4 inches deep if you live way up north.
The most important thing to note about garlic planting is to make sure you plant your cloves with the basal plate (the small flat spot on the bottom of each clove) down and the pointed tip up.
Blanket of benefits: mulching...
After planting, I like to mulch the garlic.
Our farm is in the sand hills north of Hutchinson, Kansas and it helps us immensely to conserve moisture. It also helps insulate the garlic against temperature changes.
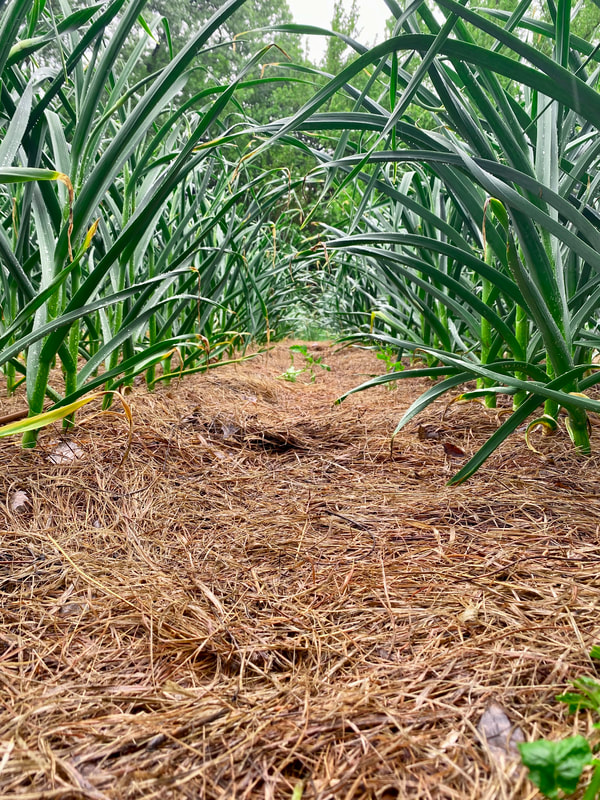
Chopped leaves are ideal, but I usually end up using old hay because it is more easily available for my location. I put a fluffy 3-5 inches of hay down, which has usually compacted down to 1-2 inches by spring.
Snowflakes and sprouts: garlic in the winter...
Your garlic will probably start to come up over the winter and that is just fine. Usually by April about 90% of the garlic is up. Sometimes, especially with the hay mulch, I have to go along and uncover some trapped stems from under the mulch.
In April your garlic will start developing quickly and it is important that you check the soil regularly to make sure it is staying moist.
In April your garlic will start developing quickly and it is important that you check the soil regularly to make sure it is staying moist.
A garlic plants gift in spring: scapes!...
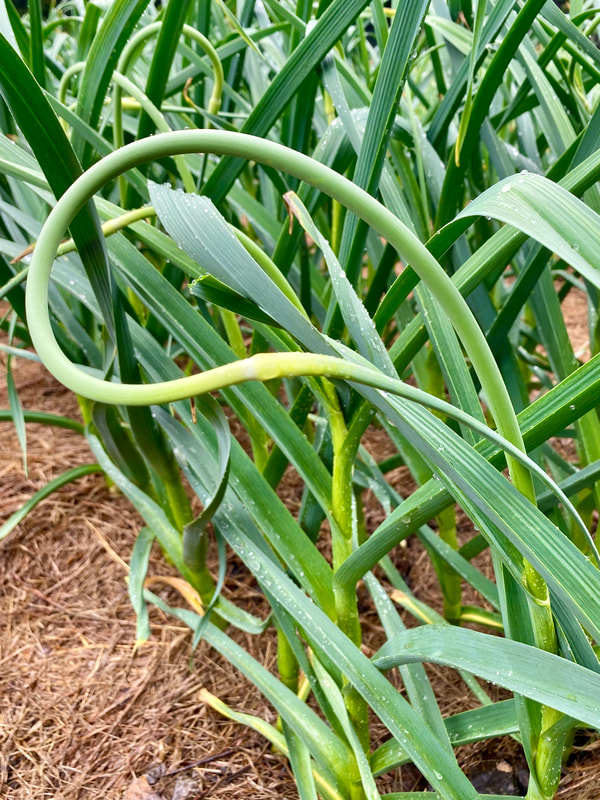
In May the scapes, or flower stalks, will start to form if you planted hardneck garlic. You will want to snap these off as soon as they make a full circle or letter O. Otherwise, the garlic plant will send all its energy into the seed head instead of the bulb and your bulb size will suffer.
Don't throw away the scapes! Keep them in your fridge and use them to cook with. They are delicious and there are so many good recipes on how to use them if you look it up on the internet.
Don't throw away the scapes! Keep them in your fridge and use them to cook with. They are delicious and there are so many good recipes on how to use them if you look it up on the internet.
Golden hour: harvesting garlic at the peak of perfection...
In June, or about the same time as wheat harvest is when I harvest.
The best time to harvest will be different for each variety, but I like to harvest when there is still 6 leaves all the way green and the rest are all brown and dead.
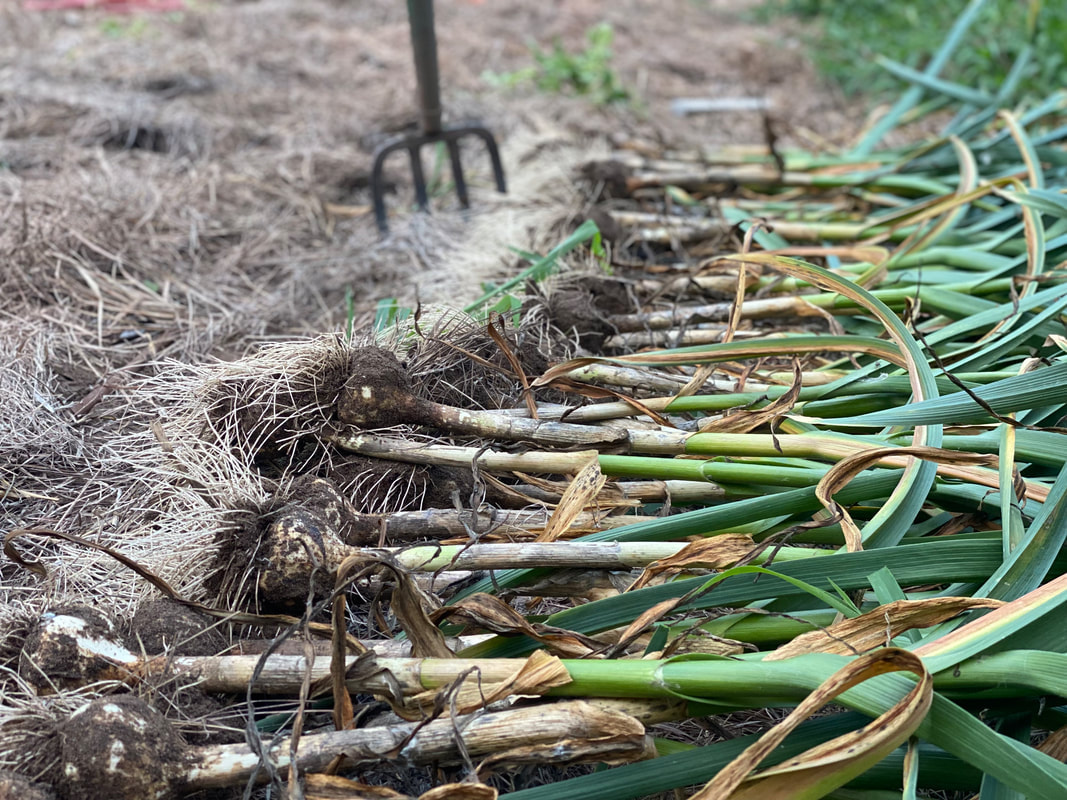
To harvest, grab a plant in one hand, and with a digging fork in the other, lever and pull the plant out of the ground. Shake the loose dirt off of the bulb and move on to the next plant. Once you have that variety dug, you can go back and pick them all up and take them into the shade for the first stage of cleaning.
To do the first stage of cleaning, take a plant and grab the bottom or closest fully green leaf to the bulb and peel it away all the way along the length of the stem and off of the bulb. This will get rid of all the dirt except what is stuck on the roots and give you a shinning white or purple bulb underneath!
It is so much easier to clean this way instead of waiting until after curing to try and rub all that dried dirt off. However, if you are pressed for time, you can skip peeling the green leaf and just do all the cleaning after curing. It is just easier to do this part now.
Don't trim the roots before curing; they are the moisture regulators for the bulb and hold the key to telling you when the bulbs are done curing.
From garden to pantry: how to cure and store your garlic goodness...
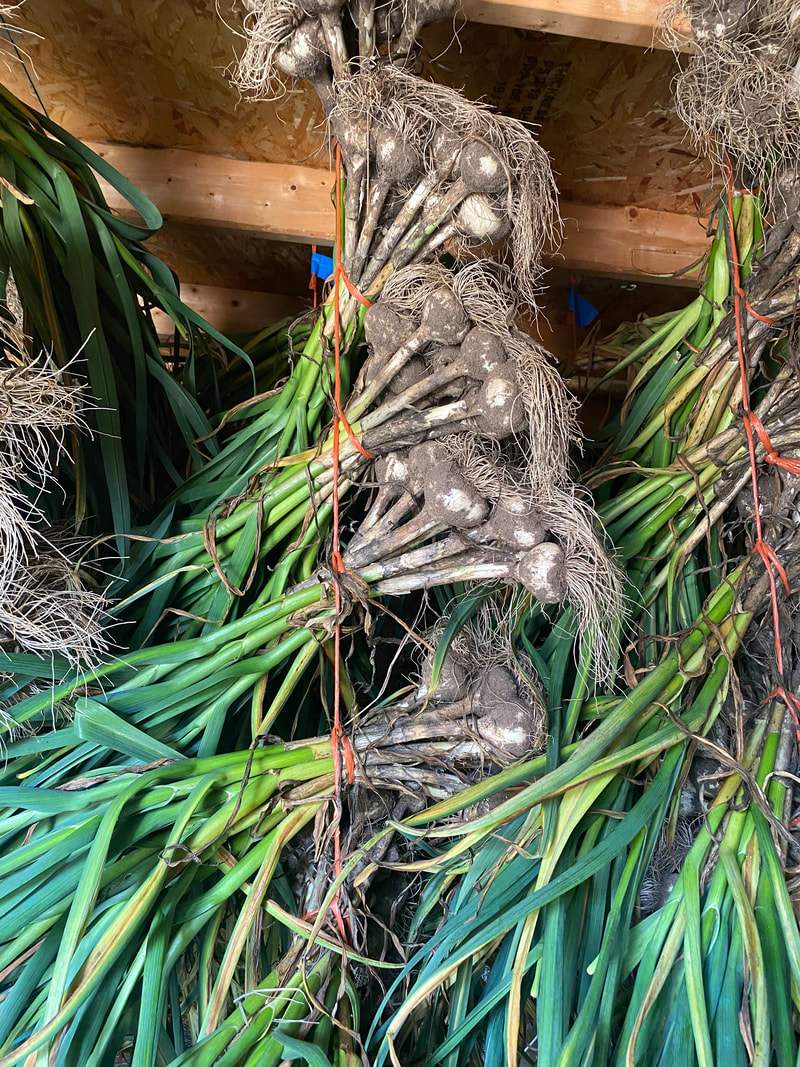
Either hang your whole garlic plants in bunches, or spread them out to dry in a well ventilated area.
Curing takes 4-8 weeks. When the roots start getting crumbly they are done curing and you can trim the roots off and the tops.
If you didn't clean the bulbs before curing by peeling the last green leaf off, then you can clean the loose dirt and skins off of the bulb now.
Place the bulb in well ventilated boxes or crates and bring indoors. Keep them in as cool of an environment as you have, but don't let them freeze. Don't store garlic in the fridge either; it is way to humid and they will start to sprout.
Congratulations! You grew your first garlic crop! See? It wasn't so hard.
Feel free to reach out with garlicky questions any time! You can use our contact page, or reach out to me (Landon) directly at: [email protected]
Feel free to reach out with garlicky questions any time! You can use our contact page, or reach out to me (Landon) directly at: [email protected]
Found this article useful? Subscribe right here for more related info in the future!
|
|
